I AM A

We Make You Smile

free printables

DIY Paper Fan Tutorial

diyI AM AComment
Make-Your-Own-Paper-Fan.jpg

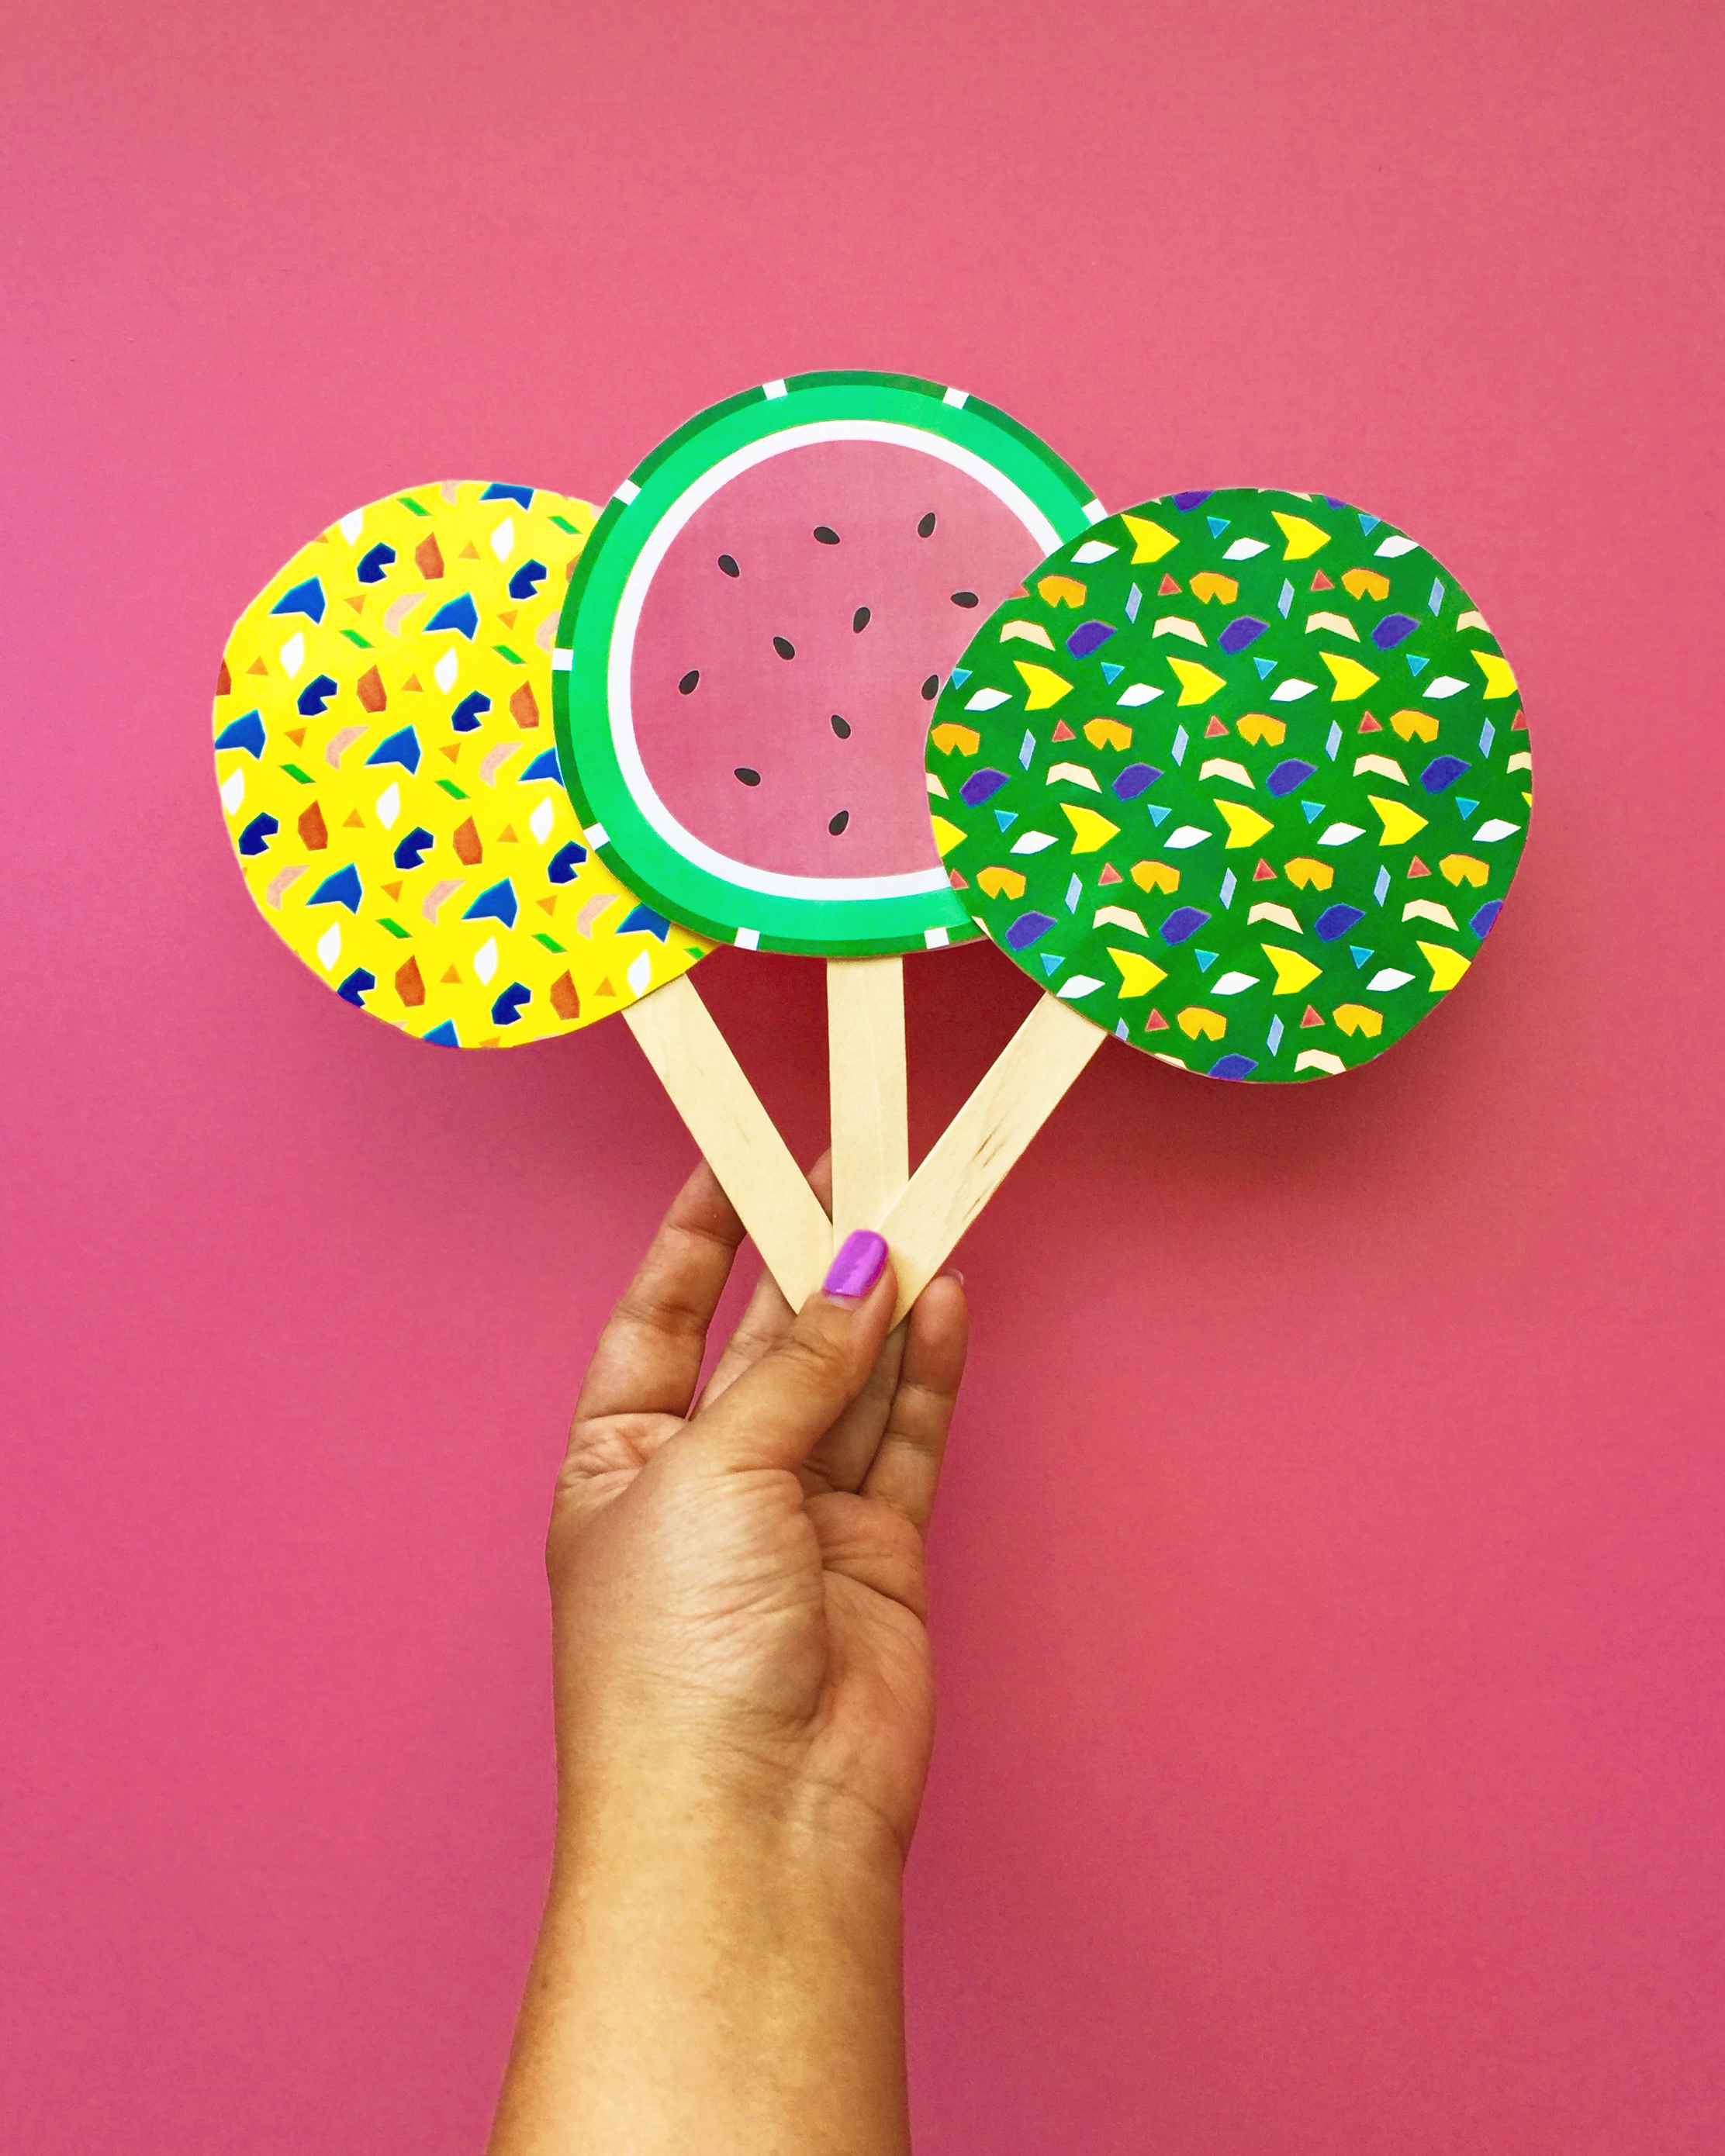
Feelin' hot hot hot!  We are all super hot stuff at this time of the year as Britain reaches the highest temperature of the year. Record breaking heat and the mercury is set to rise tomorrow again too. Heat wave ahoy! No matter how hot we are in this sweltering heat, there are moments we want to still be in our coolest. To cool down from this heat, let's make some paper fans to chill out or use them to fan your biggest fans.

This easy to do tutorial is also perfect to be done together with children during the summer holidays.

Here's how to make them:

MATERIALS (For each fan)

  • A4 Paper

  • Printer to print the fans templates on

  • Fan pattern templates are downloadable by clicking the following links : Sunny Chips, Watermelon, Forest Palm

  • A4 backing card to stick the fan template on (for a more powerful fan you will want to glue the fan template onto a piece of backing card). We have spare cards lying around in the studio which we recycled from other paper projects. To purchase we suggest these A4 Canford white cards from Paperchase. Alternatively, our preferred option is to recycle wherever possible, any empty cereal / any clean cardboard packaging will be great.

  • Wooden popsicle / lolly sticks. This could be easily purchased from craft shops / also cooking shops. We got ours from here, with the extras will be perfect to make ice lollipops too!

TOOLS

  • scissors

  • glue

METHOD

Paper-Fans-DIY.jpg
  1. Download and print the template. We have 3 template to choose from Watermelon (inspired by our watermelon card), Forest Palm or Sunny Chips

  2. Paste the A4 template onto your backing card.

  3. Once the glue is dried, cut around the patterned shapes. 2 patterned shapes would be resulted.

  4. Apply glue all around the non patterned side of the paper.

  5. Mark around 3cm from the top of the popsicle stick and apply glue to both sides of the stick.

  6. Place popsicle stick near the centre edge of one side of the patterned paper. (glue side facing up) Sandwich both sheets of paper together with the popsicle stick and press around the seams to make sure everything is glued together.

  7. Leave the fan to dry.

Once everything is dried, start fanning! This summer, this could be your one cool fan to make!

Paper-Fan.jpg

How to Make Frankenstein Frank Halloween Treat Bags

diyI AM AComment

Two days to Halloween! We've got the pumpkins ready what about T-R-E-A-T-S? Yay! Treats!

To hold the treats we have created some Frankenstein paper bag toppers to decorate paper bags with , apt for Halloween parties to fill with sweeties and treats. Something fun for your neighbours, family and friends for the festivities. Trick or treat? Definitely it's a treat from us.  

1. Tools and Ingredients

  • scissors - from Tiger
  • stapler - from Muji 
  • sweets and treats  - we have chosen pretty foiled assorted toffees from Waitrose and our own metallic badges featuring Wallace the Worm , Bart the Bat and Zac the Zombie
  • silver party paper bags - any colour will do, we have done it on brown paper bags, stripey bags, they work a treat too! 
  • A4 paper to print Frankenstein Frank. Frank can be downloaded here
frankenstein paper bags tutorial.jpg

2. Print out Frank the Frankenstein. You will need one Frank per paper bag.

3. Unleash Frank by cutting him out.

DIY Halloween Paper Craft.jpg

4. Fill a paper bag with sweets and treats. Add a few plastic creepy crawlies like plastic spiders, plastic bats, or eyeball chocolates, sugar mice, denture gummy sweets etc ... if you have them.  

silver paper bag.jpg

5. Fold Frank in half. Fold down top of paper bag, the height should be around the same as Frank. Matchy - matchy !

Frankenstein Paper Bag DIY Crafting.jpg

6. Place folded Frank over the top of the the paper bag. Staple around Frank's nose to secure the bags. ( Frank already has a few scars, he is just missing a nose piercing. 😊)

halloween trick or treat.jpg

7. Repeat steps for more Franks. Et voila! Here are your very own Frank the Frankenstein topped candy bags. Perfect for Halloween treats.  

Happy crafting and Happy Halloween! πŸ‘»πŸŽƒπŸ«πŸ­πŸ¬πŸ•Έ

P.S. We would love for you to show us if you have done this tutorial by hash tagging your posts with #FrankensteinFrank . Can't wait to see them !